DIY SOY CANDLES WITH NOW FOODS ESSENTIAL OILS
April 2, 2021 -
33 comments, add yours
Happy Thursday, friends!! I just had WAY too much fun on Instagram Live being a DIY-er and making my own candles!
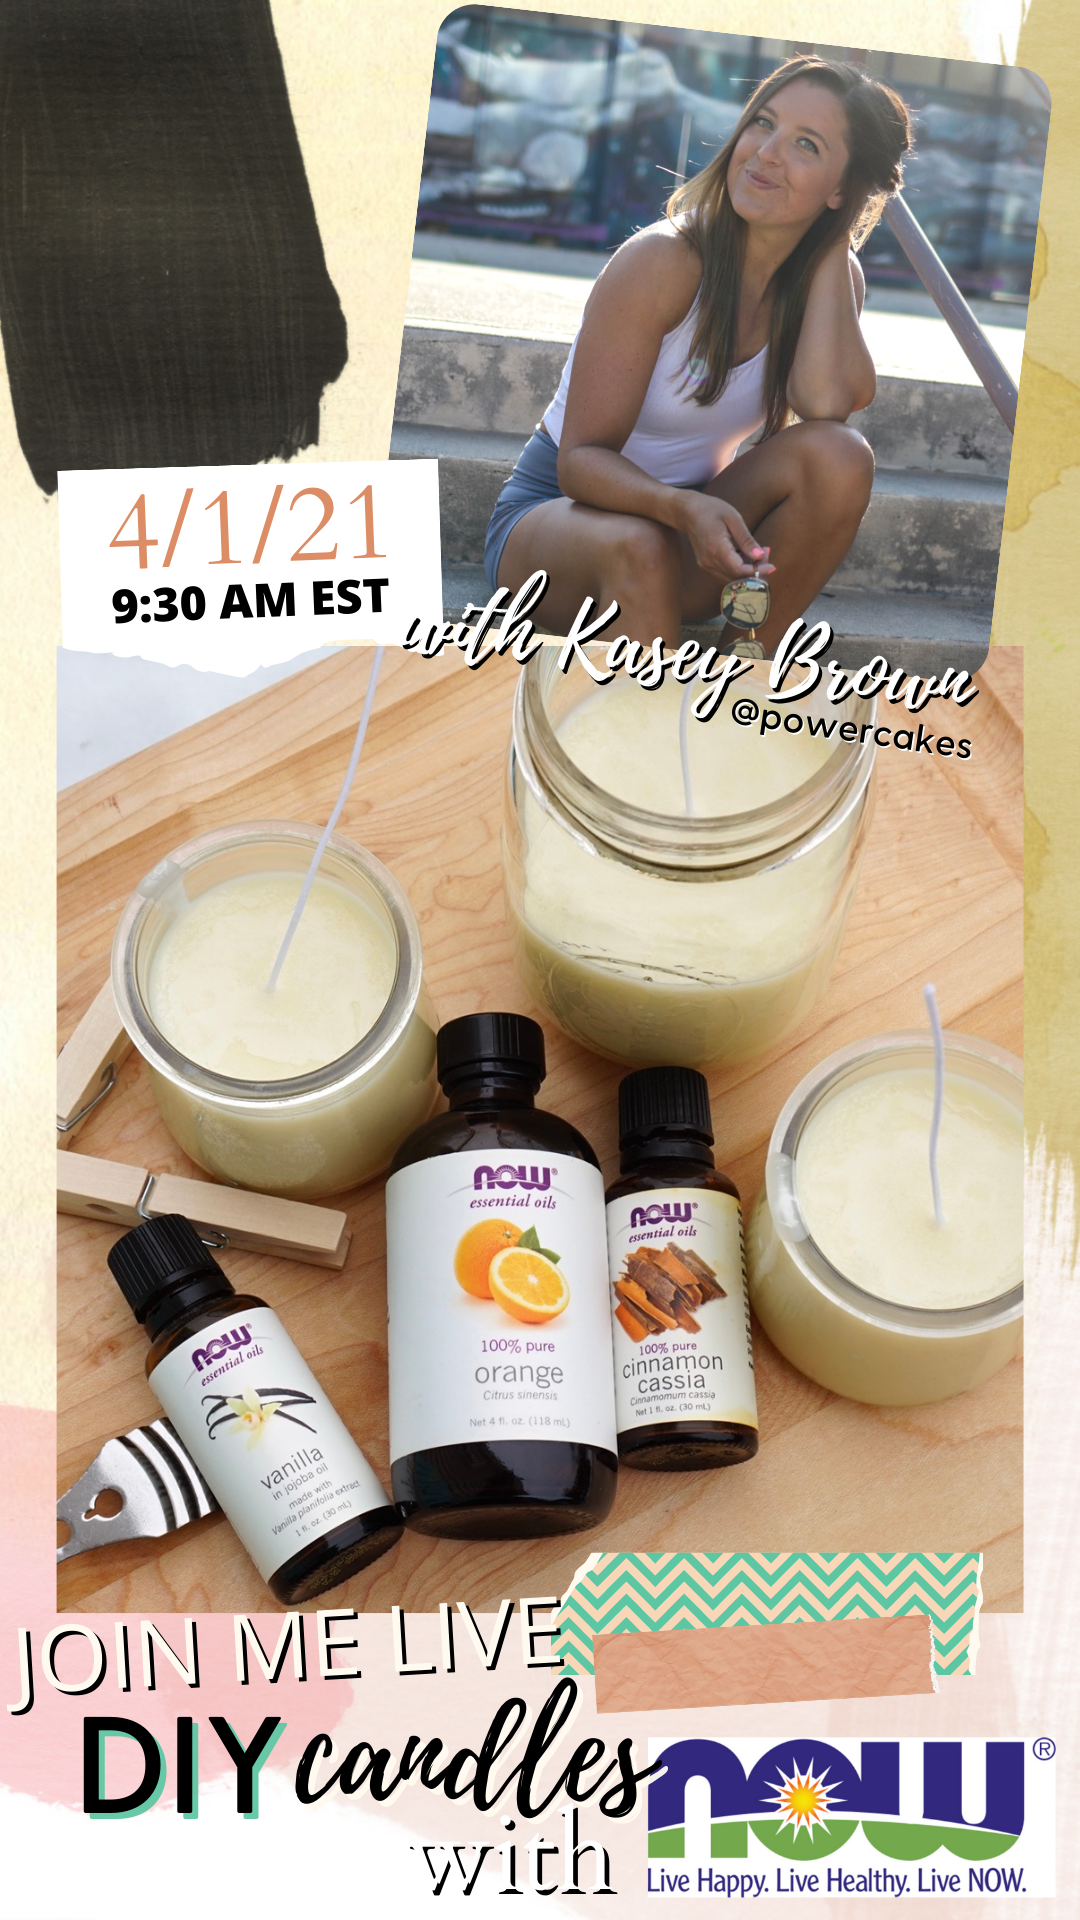
Not sure if you’re like me, but I have an….issue….with candles. I buy too many and my husband’s like, ummm we still have 25 to get through? And I say, “BUTTTTTTT this one smells so good!”
One day, after finishing a yogurt, I looked at the cute little glass jar it was in and felt bad throwing it away.
I thought, hm, I could use this for something?
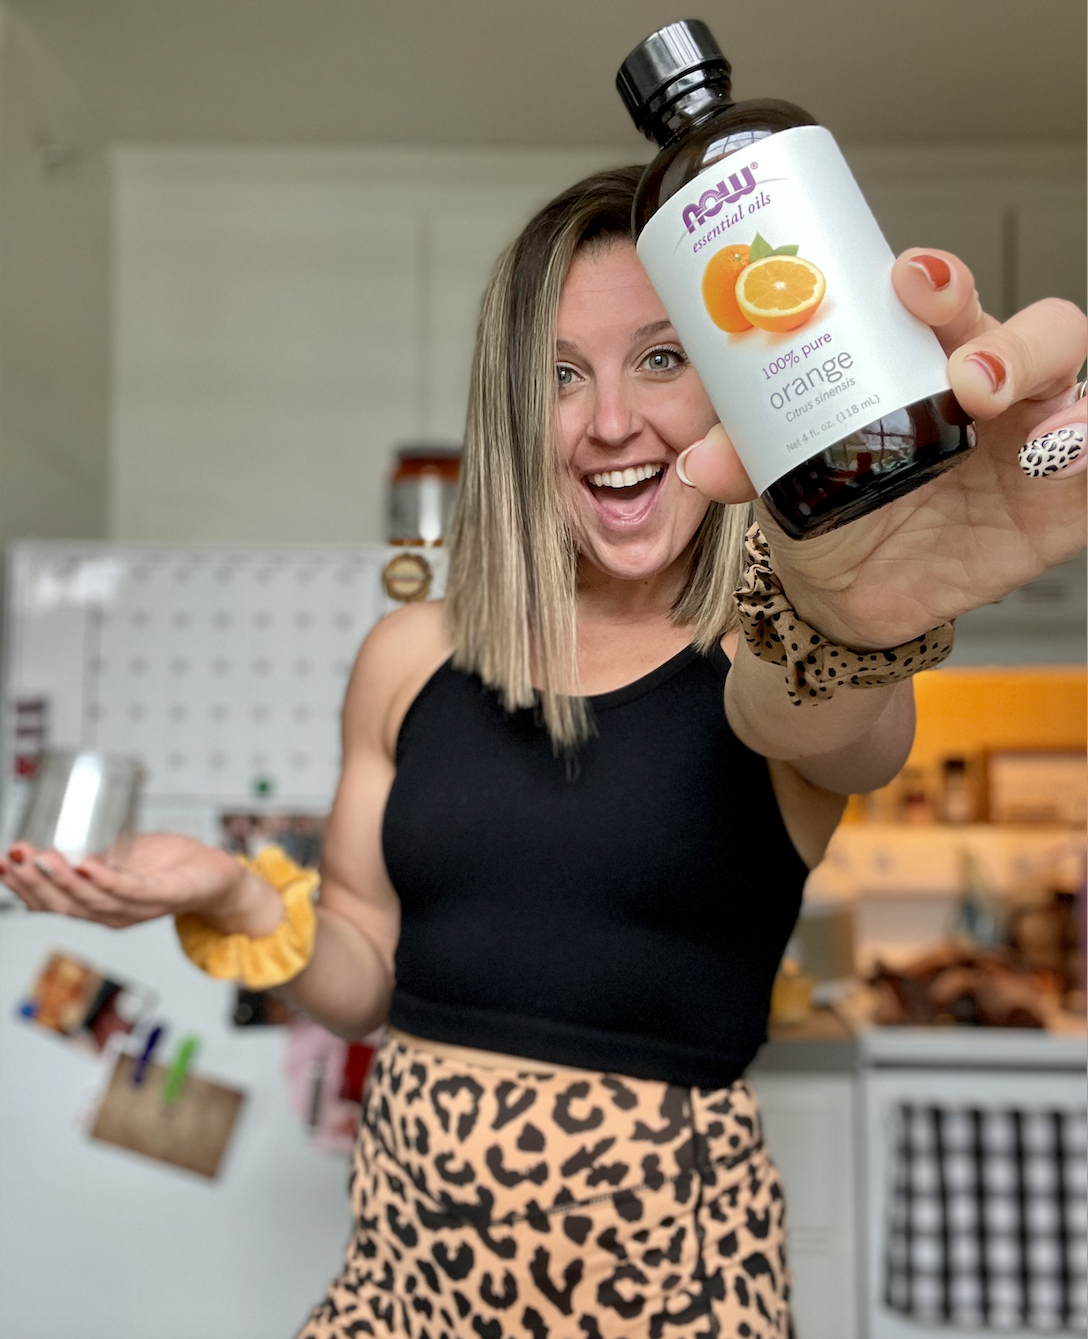
I realized I had all of my Now Foods essential oils and thought, I could make candles!! And I swear, if I can do this, YOU CAN TOO!
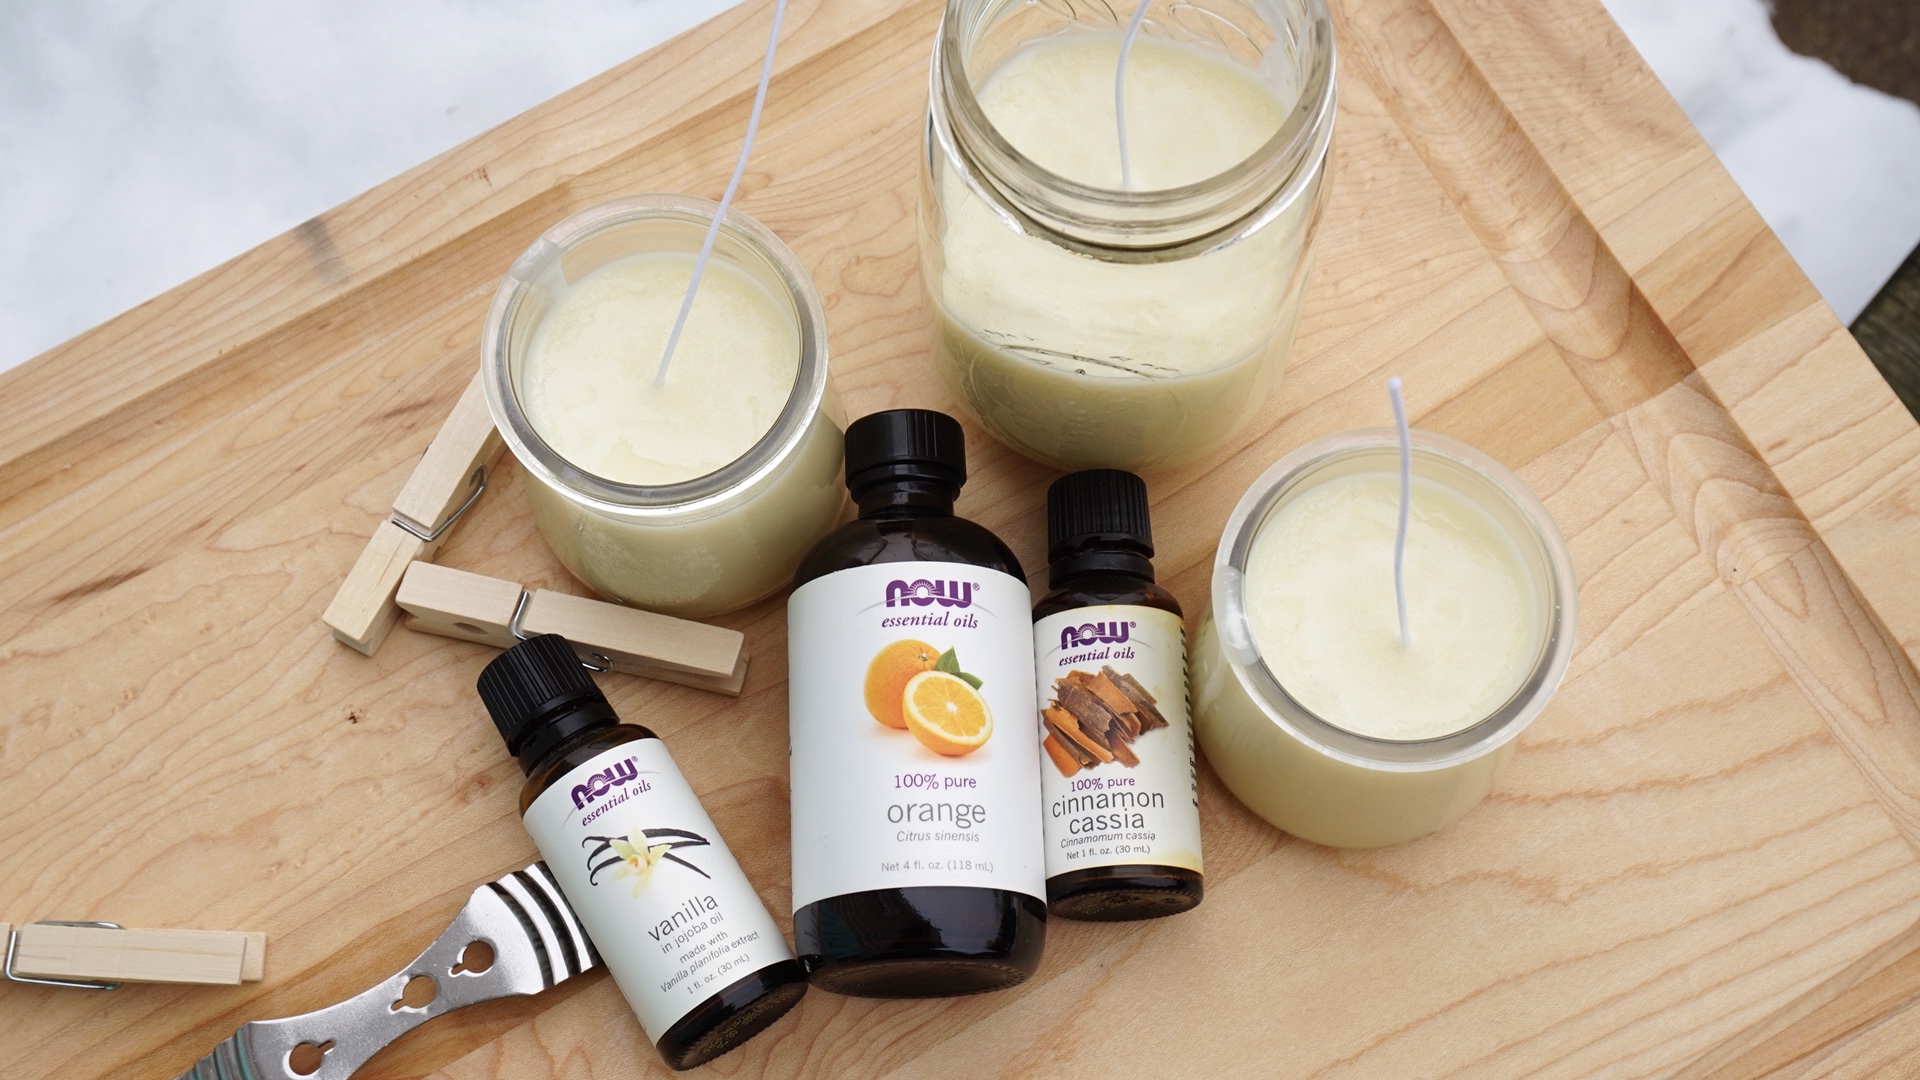
Here is what you will need:
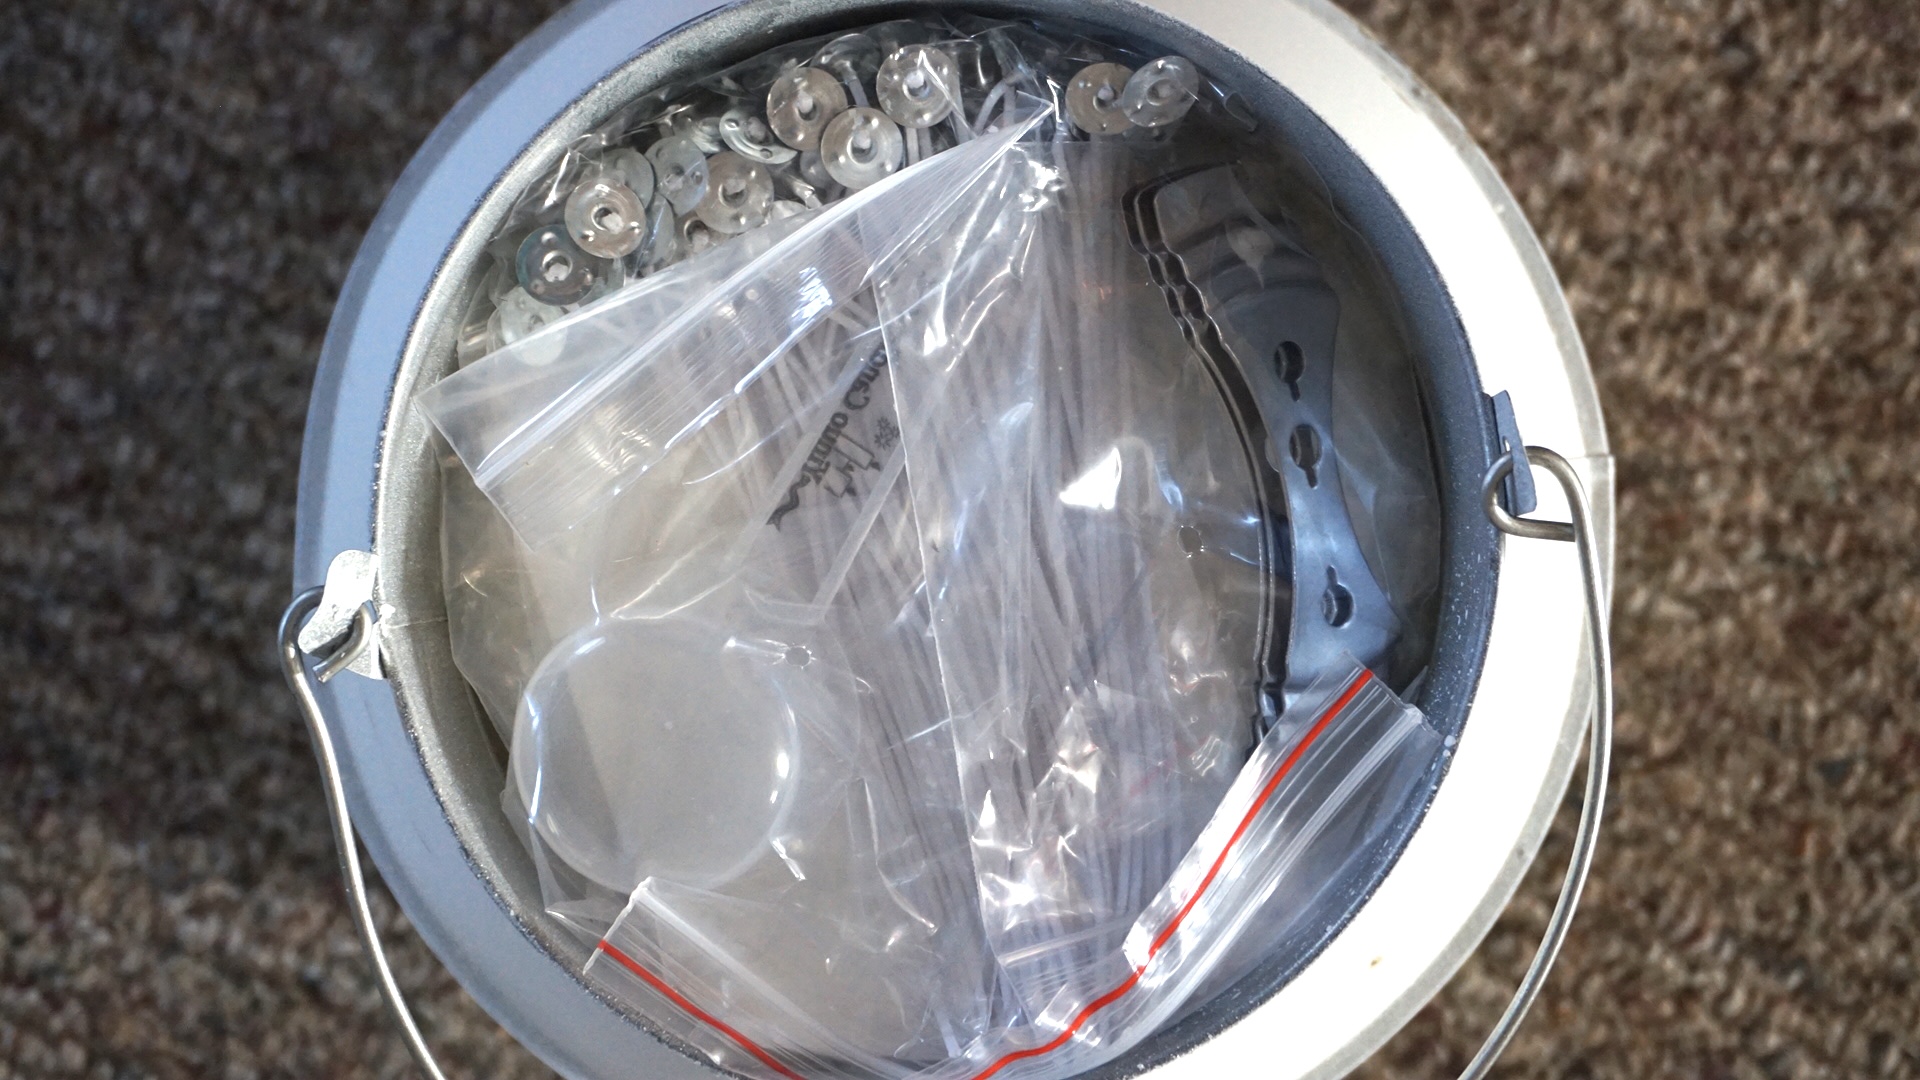
- Soy Wax Flakes – I found on Amazon for $40.
- If you watched my IG live this morning, you will see that I got a 10 lb BUCKET! LOL. To me, it was worth it, because it also includes the wicks & the wick holders so you’ll have everything you need for the usual price of 2 or so candles!
2. Now Foods Essential Oils
I LOVE the Vanilla & Cinnamon for candles. I also used a mix of Orange & Clove.
3. Clothes Pins
I used these because the soy flakes only came with 3 wick holders and I made more than 3 candles.
4. Jars of any kind!
Mason jars or used yogurt jars are always great.
HOW TO:
- Use your jar that you are going to use for the candles and double that amount of soy flakes. I took 1 of my glass containers and filled it up TWICE and that is the amount you need for 1 candle.
- I basically used a 4 cup glass measuring cup and filled it to the top before melting.
- Put the flakes into the microwave in the glass container and microwave for 4 minutes.
- This amount of time was perfect to melt the flakes down without being too hot. You want the liquid to be completely melted (basically looks like melted butter).
- You can also do a double boiler method to bring the flakes to melt.
- Add 100-200 drops of essential oils. This is what I found on most websites and honestly, I don’t think you can go wrong.
Like I said, I’m just a DIY-er over here trying things out! I found that I would add oils, smell the wax, and continue adding until the smell was where I wanted it to be.
7. Use your wicks and the stickers to attach the wicks to the bottom of the glass jar.
8. Make sure they are pressed down firmly to the bottom before using the wick holder to thread the wick through tightly.
9. Pour your melted wax into the glass containers, making sure that the wick is being held up through the center of the candle.
10. Let the candles sit for 24 hours + until completely set up.
11. Light and enjoy!!!
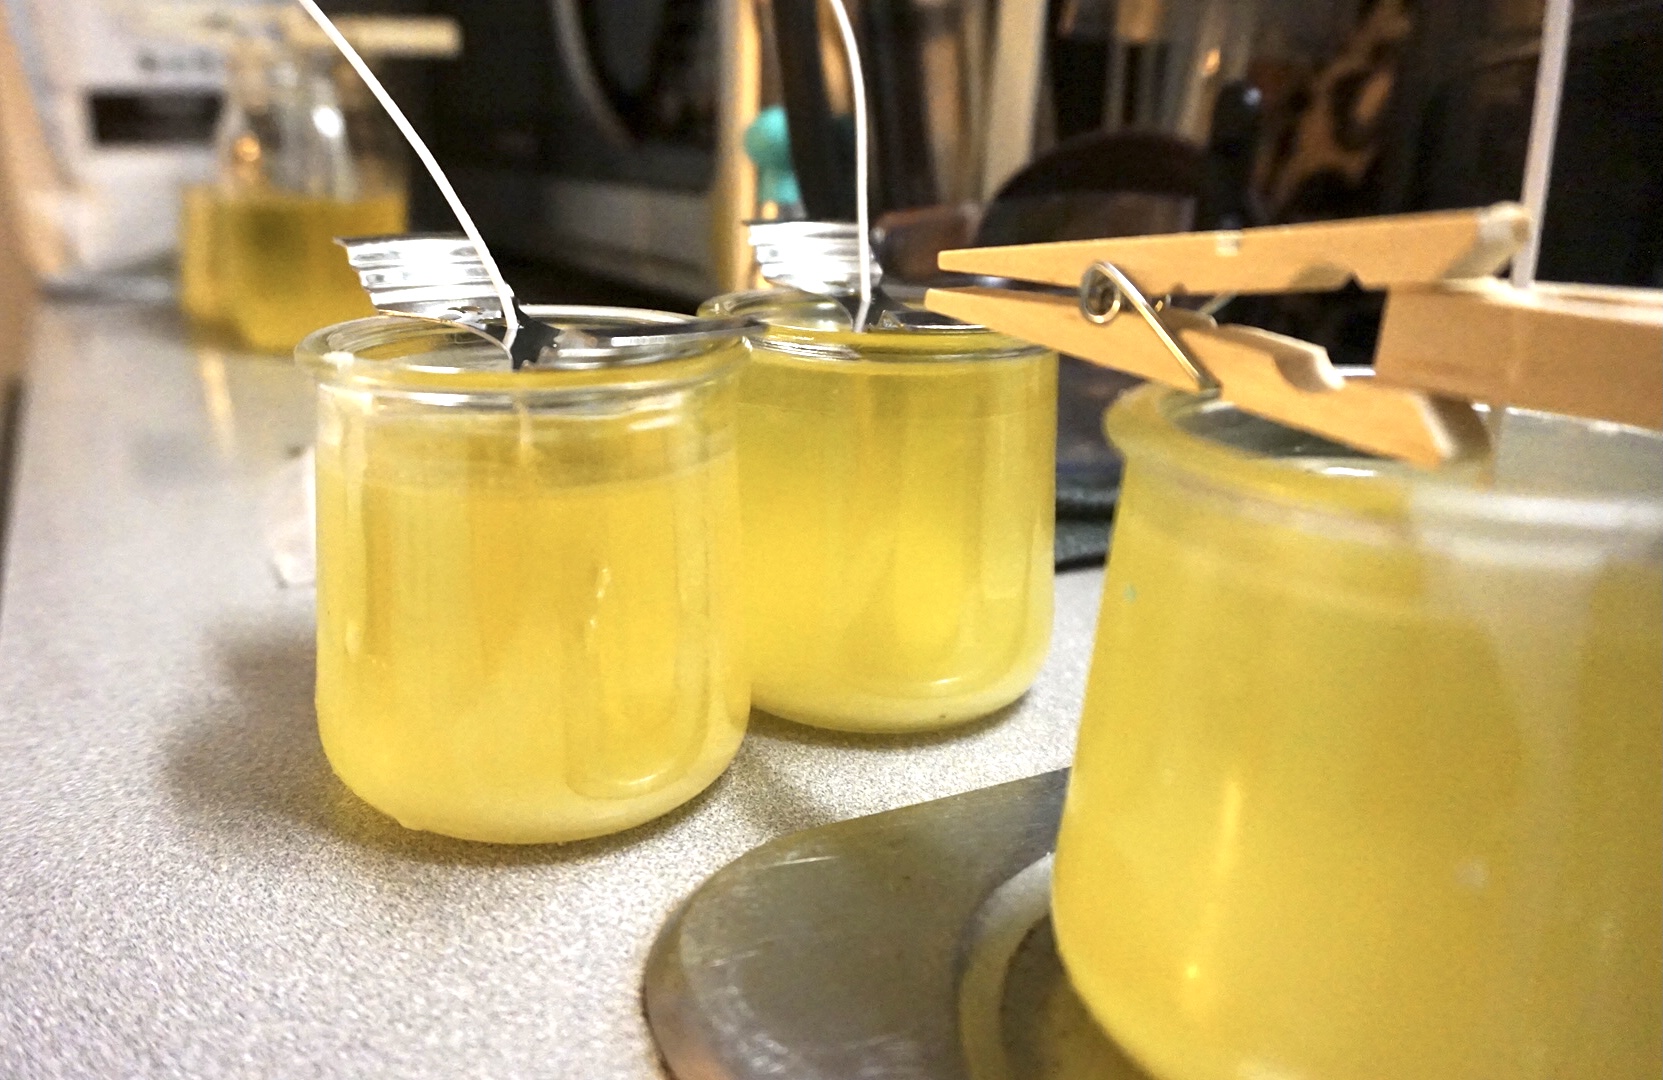
You can see how I used the clothes pins here for another alternative to the wick holders that come in the kit.
I used a blend of orange, vanilla, clove, & cinnamon and these ones and they smelt so good! Not too overwhelming but enough scent to feel super cozy.
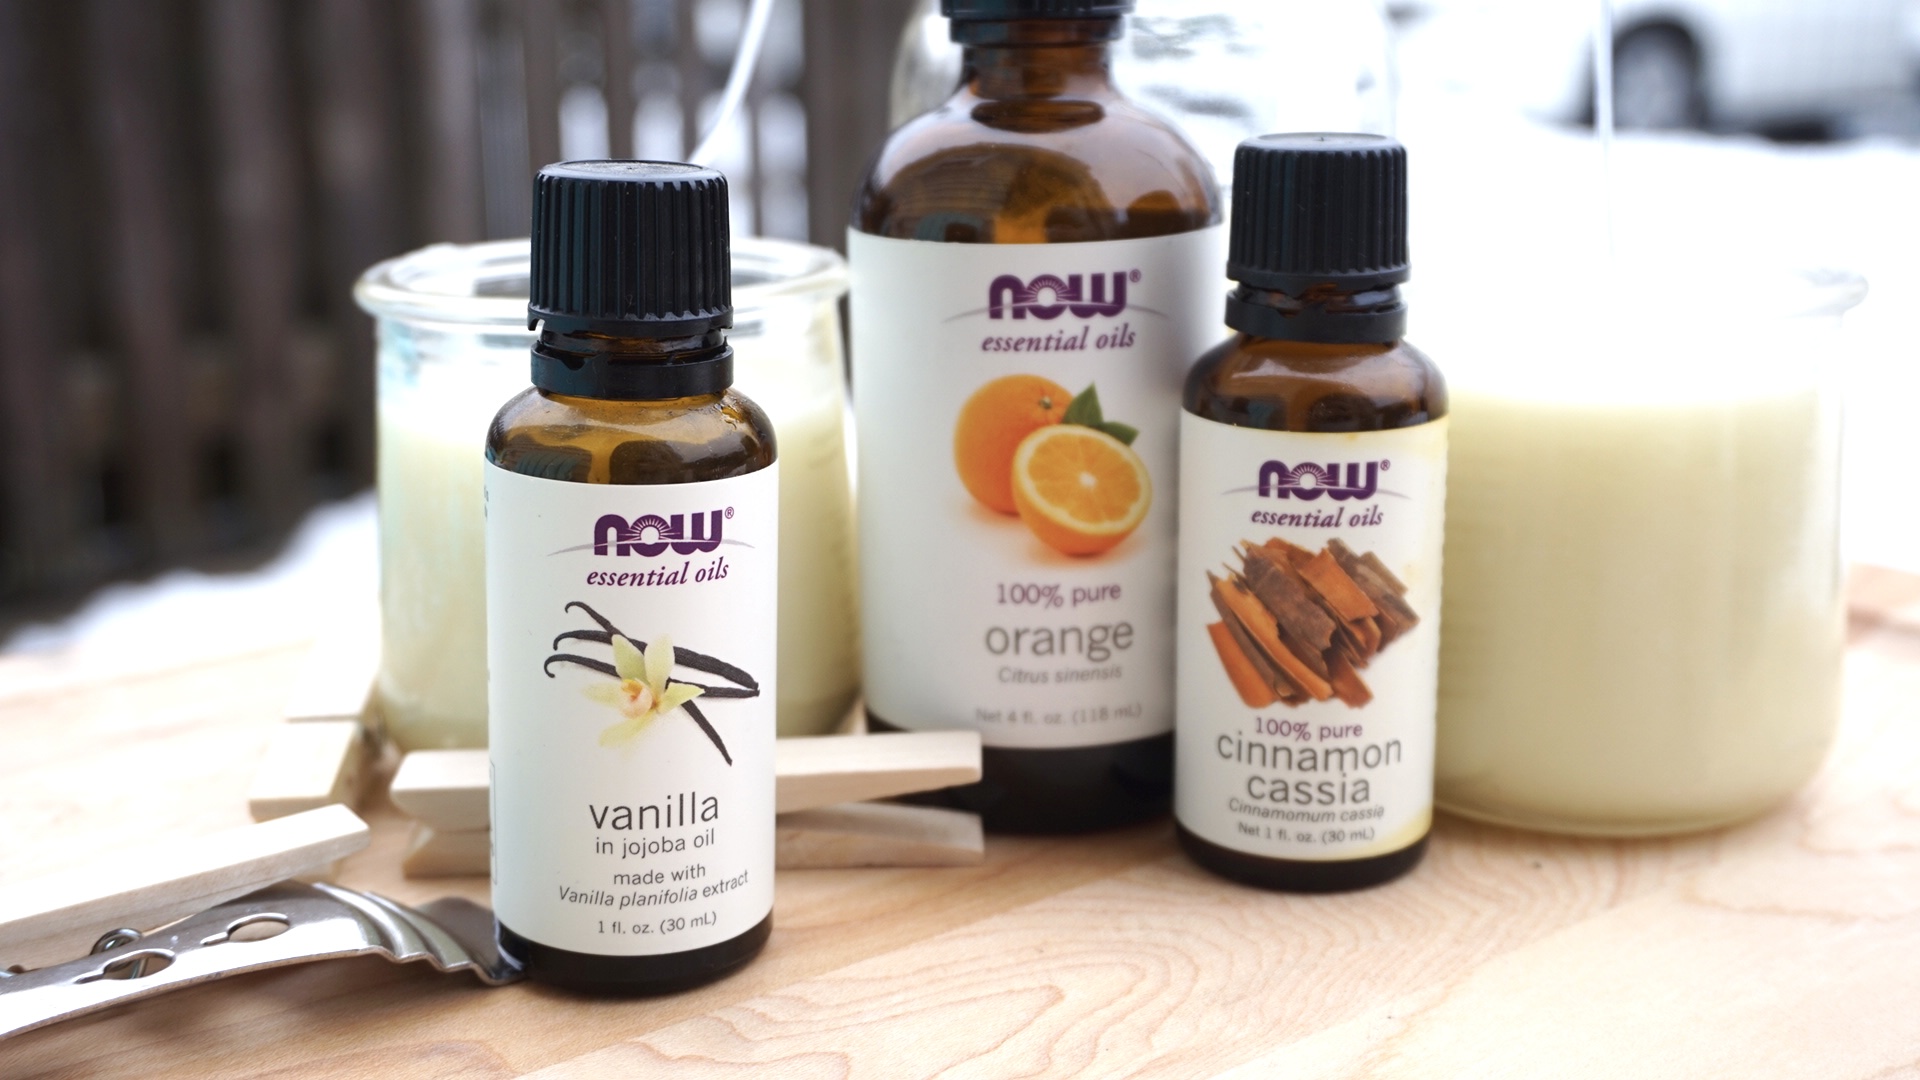
Reminder, I’m not a pro-candle maker here, but this is the way I did DIY for these and they turned out great!
Make sure to head on over to Now Foods for all of your needs! Supplements, snacks, oils, essential oils, body products, and more! We use a NOW product in every room of our house, for real.
Use code “KASEY” for 20% off your order!!
As always, thank you NOW for sponsoring this post & allowing my crazy & creative self to play with your products!
Be true to you,
xo Kasey
